Party Cake Cutting Guide: A Comprehensive Plan

Navigating party celebrations often centers around the cake, and a smooth cutting process is key!
This guide explores techniques to maximize slices,
ensure even distribution of frosting, and minimize mess,
resulting in a delightful experience for everyone involved.
Proper cake cutting transcends mere functionality; it’s about enhancing the celebratory experience. A skillfully cut cake ensures each guest receives a visually appealing and proportionally fair slice, contributing to overall enjoyment. Beyond aesthetics, the method impacts the structural integrity of the cake, preventing crumbling and maintaining the delicate balance of frosting and fillings.
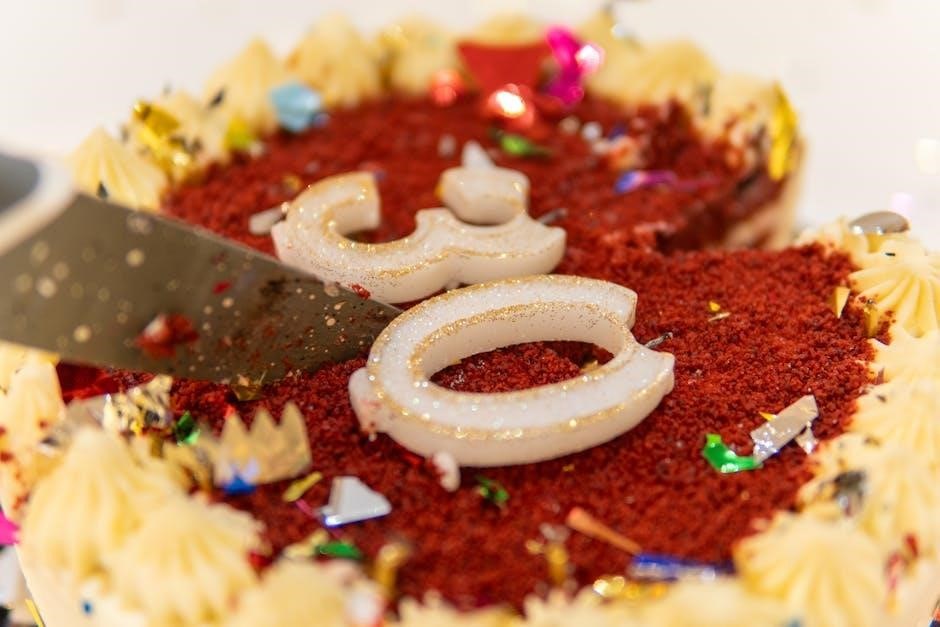
Traditionally, the wedge method is common, but it often leads to uneven slices and frosting smearing. Modern techniques, like the “outside-in” approach, prioritize clean cuts and pristine layers, especially crucial for cakes with contrasting colors – think red velvet with cream cheese frosting or yellow cake with chocolate. This method minimizes mess and maximizes visual appeal.
Furthermore, efficient cutting is vital when serving a large crowd. Techniques like horizontal slicing and the 3x9cm strip method dramatically increase the number of servings obtainable from a single cake. Understanding these methods allows for accurate portioning and reduces the likelihood of running out of cake before everyone has a piece. Ultimately, mastering cake cutting elevates the entire party experience, demonstrating attention to detail and care for your guests.
Understanding Cake Shapes & Cutting Challenges
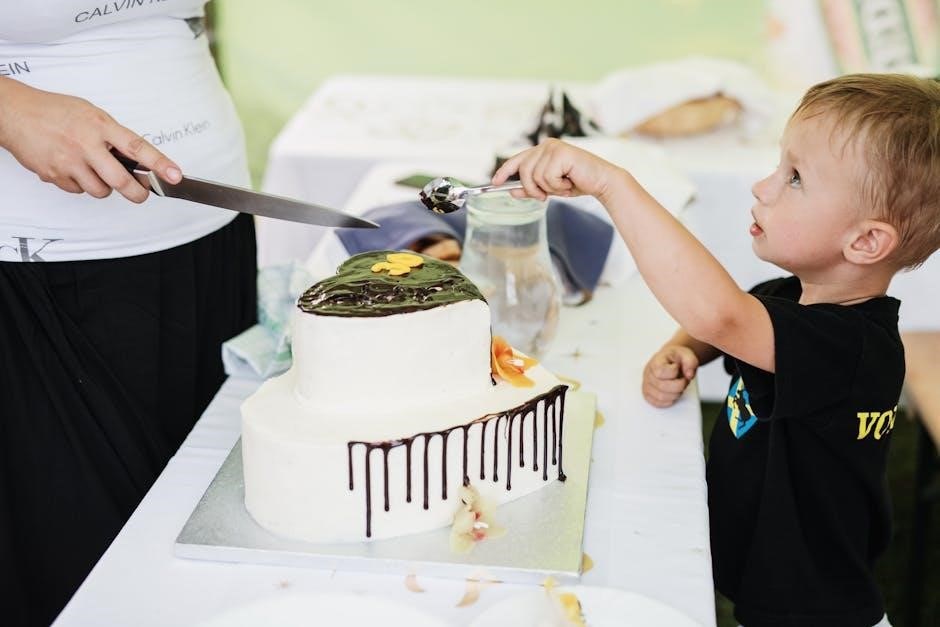
Cake shapes significantly influence cutting strategies. Round cakes present unique challenges compared to square or rectangular ones, often requiring more precise measurements to ensure even slices. Tall cakes, particularly those with multiple layers, demand a layered approach to prevent collapse and maintain structural integrity. Sheet cakes, while seemingly simpler, require careful consideration to avoid compressing the cake during cutting.
The number of layers also impacts the process. Cakes with thin layers are more susceptible to smearing when using the traditional top-down method, making the “outside-in” technique particularly beneficial. Conversely, taller cakes benefit from horizontal slicing, effectively doubling the potential slice count. Uneven layers introduce another layer of complexity, requiring adjustments to maintain consistent portion sizes.
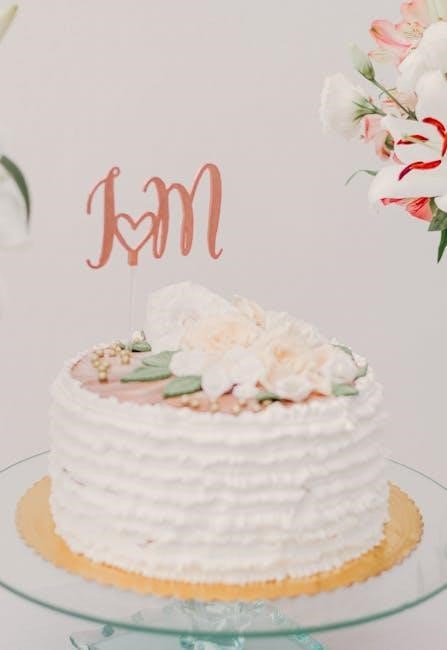
Contrasting frosting and cake colors amplify cutting challenges. A clean cut is paramount to showcase the visual appeal of the layers. The presence of delicate fillings further necessitates a gentle and precise approach. Recognizing these shape-specific challenges and adapting your technique accordingly is crucial for a successful and visually stunning cake presentation.
Tools You’ll Need for Precise Cake Cutting
While specialized tools aren’t strictly necessary, certain items significantly enhance precision and ease the cake-cutting process. A long, serrated knife is paramount – its teeth grip the cake, minimizing crumbling and ensuring clean slices. A sharp chef’s knife can also suffice, but requires a steady hand and careful technique.
Beyond the knife, a simple ruler or offset spatula can be invaluable for measuring and guiding cuts, especially when aiming for uniform slice sizes. Surprisingly, some bakers advocate for foregoing rulers altogether, relying instead on the edge of their thumb to approximate one-inch increments – a surprisingly effective method for standard 4-inch tall cakes.
A stable cutting surface is essential. A large cutting board provides ample space and prevents damage to your countertop. For the “outside-in” method or horizontal slicing, a second cutting board can be helpful for flipping cake slabs. Finally, having a cake lifter or wide spatula on hand aids in transferring slices without breakage. Ultimately, the right tools empower you to achieve professional-looking results.
The Traditional Wedge Method: Pros & Cons
The classic wedge method, cutting from the center outwards, is arguably the most familiar cake-cutting technique. Its primary advantage lies in its simplicity – requiring no special skills or tools, making it accessible to everyone. It’s quick and efficient for informal gatherings where precise portioning isn’t critical.
However, this method presents several drawbacks. The wedges tend to be larger in the center and smaller at the edges, leading to uneven slice sizes. More significantly, cutting downwards through frosting often results in smearing and a messy presentation, particularly with contrasting frosting and cake colors. This is because the weight of the upper layers compresses the lower ones during the cut.
For cakes with delicate frosting or multiple thin layers, the wedge method can be particularly problematic, causing the layers to shift and the frosting to become distorted. While acceptable for casual events, bakers seeking pristine slices and even distribution often opt for alternative techniques that minimize these issues.
The “Outside-In” Cutting Technique for Clean Slices
To achieve sharper, more visually appealing slices, especially with frosted cakes, the “outside-in” method is a game-changer. Instead of starting from the center, begin by cutting slices around the perimeter of the cake. This creates a clean edge and prevents the frosting from being dragged across the entire surface.
The principle behind this technique is to minimize compression. By cutting outwards, you’re supporting the cake structure and reducing the likelihood of the frosting smearing into the layers. This is particularly beneficial when working with cakes featuring contrasting colors – think yellow cake with chocolate frosting or red velvet with cream cheese.
This method excels with cakes that have thin layers, as it preserves their integrity. It results in more pristine layers of both cake and frosting, offering a professional-looking presentation. While it might take slightly longer than the traditional wedge method, the improved aesthetic and cleaner slices are well worth the extra effort for those prioritizing presentation.
Horizontal Slicing: Maximizing Slice Count
For maximizing the number of slices, especially when serving a larger crowd, horizontal slicing is a remarkably effective technique. This involves carefully cutting the cake into layers before dividing it into wedges. It’s particularly well-suited for taller cakes with multiple layers, significantly increasing the overall yield.
The process begins by cutting the cake in half widthways, essentially doubling the potential slice count. Then, a friend’s technique involves creating one-inch thick slabs, which are then flipped onto a cutting board. From there, these slabs are cut into one-inch strips, forming columns of cake ready for serving.
This method is especially advantageous for supermarket rainbow cakes or similar layered creations. By strategically slicing horizontally, you can often extract at least 18 slices from a cake initially intended for 16, and potentially even more with careful execution. It’s a clever way to ensure everyone gets a piece, and perhaps even have leftovers!
Cutting Tall Cakes: A Layer-by-Layer Approach
Tackling a tall cake requires a slightly different strategy than a standard layer cake. The key is to break down the process into manageable steps, focusing on one layer at a time to maintain stability and precision. Horizontal slicing is particularly effective for these cakes, maximizing the number of servings possible.
Begin by carefully cutting the cake in half widthways, creating two separate, shorter cakes. This immediately doubles the potential slice count and makes handling each section easier. Then, proceed to cut one-inch thick slabs from each half, flipping them onto a cutting board for further division.
These slabs can then be cut into one-inch strips, creating neat columns of cake. This layer-by-layer approach not only increases the number of slices but also helps to maintain the integrity of the frosting and fillings, preventing them from smearing or shifting during the cutting process. Tall cakes, like rainbow cakes, are ideal for this method.

Cutting Cakes with Multiple Layers
When faced with a multi-layered cake, the goal is to achieve clean slices that showcase each distinct layer of cake and frosting. The traditional top-down wedge method can often result in messy slices, with frosting smearing into the cake. Therefore, adopting an “outside-in” technique is highly recommended for pristine presentation.
Instead of cutting from the center, start at the outer edge of the cake and work your way inwards. This minimizes disruption to the layers and keeps the frosting intact. For cakes with contrasting colors – like yellow cake with chocolate frosting or red velvet with cream cheese – this method is especially beneficial, preserving the visual appeal.
Alternatively, consider the 3x9cm strip method, particularly effective for tall, layered cakes. Cutting the cake into strips allows for maximizing the number of slices, ensuring everyone receives a portion. Remember to flip slabs onto a cutting board for easier, more precise strip cutting, and don’t hesitate to use your thumb as a guide for approximate measurements!
Estimating Slice Size: Serving a Crowd
Accurately estimating slice size is crucial when serving a crowd, preventing shortages or excessive leftovers. A standard cake intended to serve 16 people can often yield more slices – potentially 18 or even more – with strategic cutting techniques. The 3x9cm strip method, in particular, significantly increases the slice count, maximizing the cake’s reach.
Consider the appetites of your guests. For a party with primarily adults, smaller, more refined slices might suffice. However, if children are present, slightly larger portions are generally appreciated. Don’t be afraid to err on the side of caution and cut slightly smaller slices initially; it’s easier to offer seconds than to deal with uneaten portions.
Utilizing the strip method allows for flexibility. You can adjust the width of the strips to control slice size. Furthermore, cutting the cake in half widthways effectively doubles the potential number of servings. Careful planning and execution ensure everyone enjoys a piece of the celebration!
Cutting for Even Distribution of Frosting & Fillings
Achieving even distribution of frosting and fillings is paramount for a satisfying cake experience. The traditional top-down cutting method often results in frosting smearing into the cake layers, creating a less pristine presentation. However, the “outside-in” technique offers a superior solution, preserving the integrity of each layer.
This method involves starting at the outer edge of the cake and cutting inwards, ensuring each slice contains a proportionate amount of both cake and frosting. This is particularly beneficial when working with contrasting colors, such as yellow cake and chocolate frosting, or delicate, thin layers. It minimizes mess and maximizes visual appeal.
Furthermore, horizontal slicing, followed by flipping the cake slab onto a cutting board, allows for precise strip cutting. This creates uniform columns of cake, guaranteeing consistent frosting-to-cake ratios in every slice. Prioritizing this technique elevates the overall enjoyment and presentation of your party cake!
The 3x9cm Strip Method: A Slice-Maximizing Technique
For maximizing the number of slices, especially when serving a large crowd, the 3x9cm strip method proves remarkably effective. This technique is particularly well-suited for tall cakes with multiple layers, allowing you to significantly increase the yield compared to traditional wedge cuts.
The process begins by carefully cutting the cake in half widthways, effectively doubling the potential slice count. Subsequently, the cake is then divided into strips measuring approximately 3x9cm. This creates a grid-like pattern, yielding numerous, manageable portions. This method is especially useful for supermarket rainbow cakes, known for their height and layered structure.

By employing this slicing and dicing approach, a cake intended for 16 servings can easily yield 18 or more, potentially leaving leftovers for the host! The precision of the strips ensures consistent portion sizes, making it ideal for party settings where equitable distribution is desired. It’s a game-changer for efficient cake serving.
Using Your Thumb as a Guide for Approximate Measurements
When a ruler or measuring tape isn’t readily available, a surprisingly accurate method for approximating cake slice dimensions relies on a simple tool – your thumb! This technique is particularly handy for achieving consistent slice sizes without the need for specialized equipment, making it perfect for impromptu celebrations or when working in a fast-paced environment.
The principle involves utilizing the width of your thumb as a visual guide for an inch. By eyeballing this measurement, you can quickly and efficiently cut strips or layers of cake with reasonable precision. This method works exceptionally well for standard 4-inch tall cakes, where an inch-thick slice is often desired.
While not a substitute for precise measurements, using your thumb provides a convenient and surprisingly effective way to maintain consistency, especially when dealing with round cakes. It’s a testament to the fact that sometimes, the most practical tools are the ones you already have at your fingertips, ensuring a smooth and efficient cake-cutting experience.
Flipping Cake Slabs for Easier Strip Cutting
To truly maximize the number of slices you obtain from a cake, especially taller varieties with multiple layers, a clever technique involves flipping slabs of cake onto a cutting board. This seemingly simple step dramatically improves the ease and accuracy of creating uniform strips, ultimately leading to a greater yield of servings.
The process begins with making horizontal slices across the cake, creating one-inch thick slabs. Instead of attempting to cut strips directly from the whole cake, these slabs are carefully flipped onto a flat surface. This provides a stable base and allows for cleaner, more controlled cuts.

By flipping the slab, you gain better leverage and reduce the risk of compressing or tearing the cake. Cutting into one-inch strips then becomes significantly easier, resulting in neat columns of cake that are ready to be served. This method is particularly effective when aiming for a high slice count, ensuring everyone gets a generous portion.
Cutting Cakes with Contrasting Colors (Frosting & Cake)
When dealing with cakes that showcase a striking contrast between the cake and frosting colors – think vibrant yellow cake paired with rich chocolate frosting, or classic red velvet with creamy cream cheese – precision in cutting becomes paramount. The goal is to maintain the visual appeal of distinct layers, preventing unwanted smearing or mixing of colors.
Traditional top-down cutting methods often result in frosting being dragged into the cake layers, creating a muddied appearance. To avoid this, bakers recommend adopting the “outside-in” cutting technique. This involves starting at the outer edge of the cake and cutting inwards, rather than slicing directly from the center.
The outside-in approach minimizes disruption to the frosting layers, preserving the clean lines and vibrant colors. It’s particularly useful for cakes with thin frosting layers, where even a small amount of smearing can be noticeable. This technique ensures each slice remains a visually stunning representation of the baker’s artistry, enhancing the overall presentation.
Serving Size Guidelines: Based on Guest Count
Accurately estimating cake portion sizes is crucial for ensuring everyone enjoys a slice without excessive leftovers or, worse, running out of cake! Serving guidelines depend heavily on the guest count and the overall menu. If the cake is the primary dessert, plan for larger portions.
For a standard party, a good rule of thumb is to estimate one slice per guest. However, consider the cake’s richness. Dense cakes like chocolate fudge require smaller portions than lighter sponge cakes. A typical 9-inch round cake yields approximately 16 servings, while a sheet cake can easily serve 24-32 people.
Employing techniques like the 3x9cm strip method can significantly increase the number of slices obtainable from a single cake, particularly taller cakes with multiple layers. This method allows for maximizing the cake’s yield, ensuring even a large gathering receives a satisfying portion. Always err on the side of slightly more, as guests often appreciate the option of a second, smaller slice!
Cutting Sheet Cakes: A Different Approach
Unlike round cakes, sheet cakes present unique cutting challenges due to their rectangular shape and often larger size. The traditional wedge method isn’t ideal, as slices near the center can become awkwardly small and unstable. A grid-based approach is far more effective for sheet cakes.
Begin by cutting the sheet cake lengthwise into even strips, approximately 3x9cm wide, mirroring the technique used for maximizing slices in taller cakes. This creates manageable columns of cake. Then, cut across these strips to form individual serving-sized squares or rectangles.
This method ensures consistent portion sizes and minimizes waste. It’s particularly useful for large gatherings where efficiency is key. The strip method also allows for easier distribution, especially when serving buffet-style. Remember to use a long, serrated knife for clean cuts and to apply gentle pressure to avoid squashing the cake. Consider flipping slabs for easier cutting!
Dealing with Uneven Cake Layers
Uneven cake layers are a common baking reality, but they don’t have to compromise your cake-cutting precision. Before slicing, assess the height differences. Minor variations can often be accommodated during the cutting process without noticeable impact on the final slices;
For more significant discrepancies, consider a leveling technique. Gently trim the higher layers with a long, serrated knife to create a more uniform surface. This ensures even distribution of frosting and fillings, and prevents slices from tilting or collapsing. Alternatively, embrace the rustic charm and adjust your cutting angle slightly to compensate.
When employing the “outside-in” method, uneven layers are less problematic, as the focus is on clean vertical cuts. However, for horizontal slicing, leveling is crucial for consistent slab thickness. Remember, a little preparation can transform a potentially messy situation into a beautifully presented cake, ready for enjoyment!
Preventing Cake Crumbs & Messes During Cutting
Minimizing crumbs and maintaining a tidy presentation are essential for a successful cake-cutting experience. A warm, slightly dampened knife is your first line of defense. The warmth helps the blade glide through the cake, while the moisture reduces sticking and tearing, leading to cleaner cuts and fewer crumbs.
Employ a gentle sawing motion rather than pressing down forcefully. This prevents the cake from compressing and crumbling. Wipe the blade clean after each slice to avoid transferring crumbs to subsequent cuts. Consider cutting the cake in a less trafficked area to contain any stray particles.
For particularly delicate cakes, chilling it briefly before cutting can firm up the layers, making them easier to handle. Utilizing the 3x9cm strip method, or flipping cake slabs onto a cutting board, can also help contain crumbs. A little care and attention to technique will ensure a presentable cake and a less messy celebration!
Storing Leftover Cake: Maintaining Freshness
Proper storage is crucial for preserving the flavor and texture of leftover cake. The method depends on whether the cake is frosted or unfrosted. For unfrosted cakes, tightly wrap it in plastic wrap, then in aluminum foil, or place it in an airtight container. This prevents it from drying out and absorbing odors from the refrigerator.
Frosted cakes require a bit more attention. If the frosting is cream cheese-based, refrigeration is essential to prevent spoilage. Otherwise, a cake can be stored at room temperature for a couple of days, covered similarly to unfrosted cakes. To prevent the frosting from sticking to the plastic wrap, place parchment paper squares directly against the frosting before wrapping.
For longer storage, freezing is an excellent option. Wrap individual slices or the entire cake securely in plastic wrap, followed by foil. Frozen cake can last for up to two to three months. Thaw in the refrigerator overnight for best results, maintaining optimal freshness and flavor!
Advanced Techniques: Decorative Cuts & Presentation
Beyond basic slicing, elevating cake presentation involves creative cutting techniques. Consider geometric cuts – triangles, squares, or even hexagons – for a modern aesthetic. Using cookie cutters to create shaped slices adds a playful touch, especially for children’s parties. These require a steady hand and a sharp knife for clean edges.
For visually striking results, explore layered presentations. Instead of serving individual slices, arrange cut pieces artfully on a platter, creating a cascading effect. Garnishing with fresh berries, chocolate shavings, or edible flowers enhances the visual appeal. A dusting of powdered sugar can also add a delicate finish.
When dealing with multi-tiered cakes, consider cutting each tier separately and presenting them as individual displays. This allows for greater control over portion sizes and presentation. Remember, the goal is to transform a simple cake into a memorable centerpiece, showcasing both flavor and artistry!